Schedule a Message
1. Click on “New Message” Button.

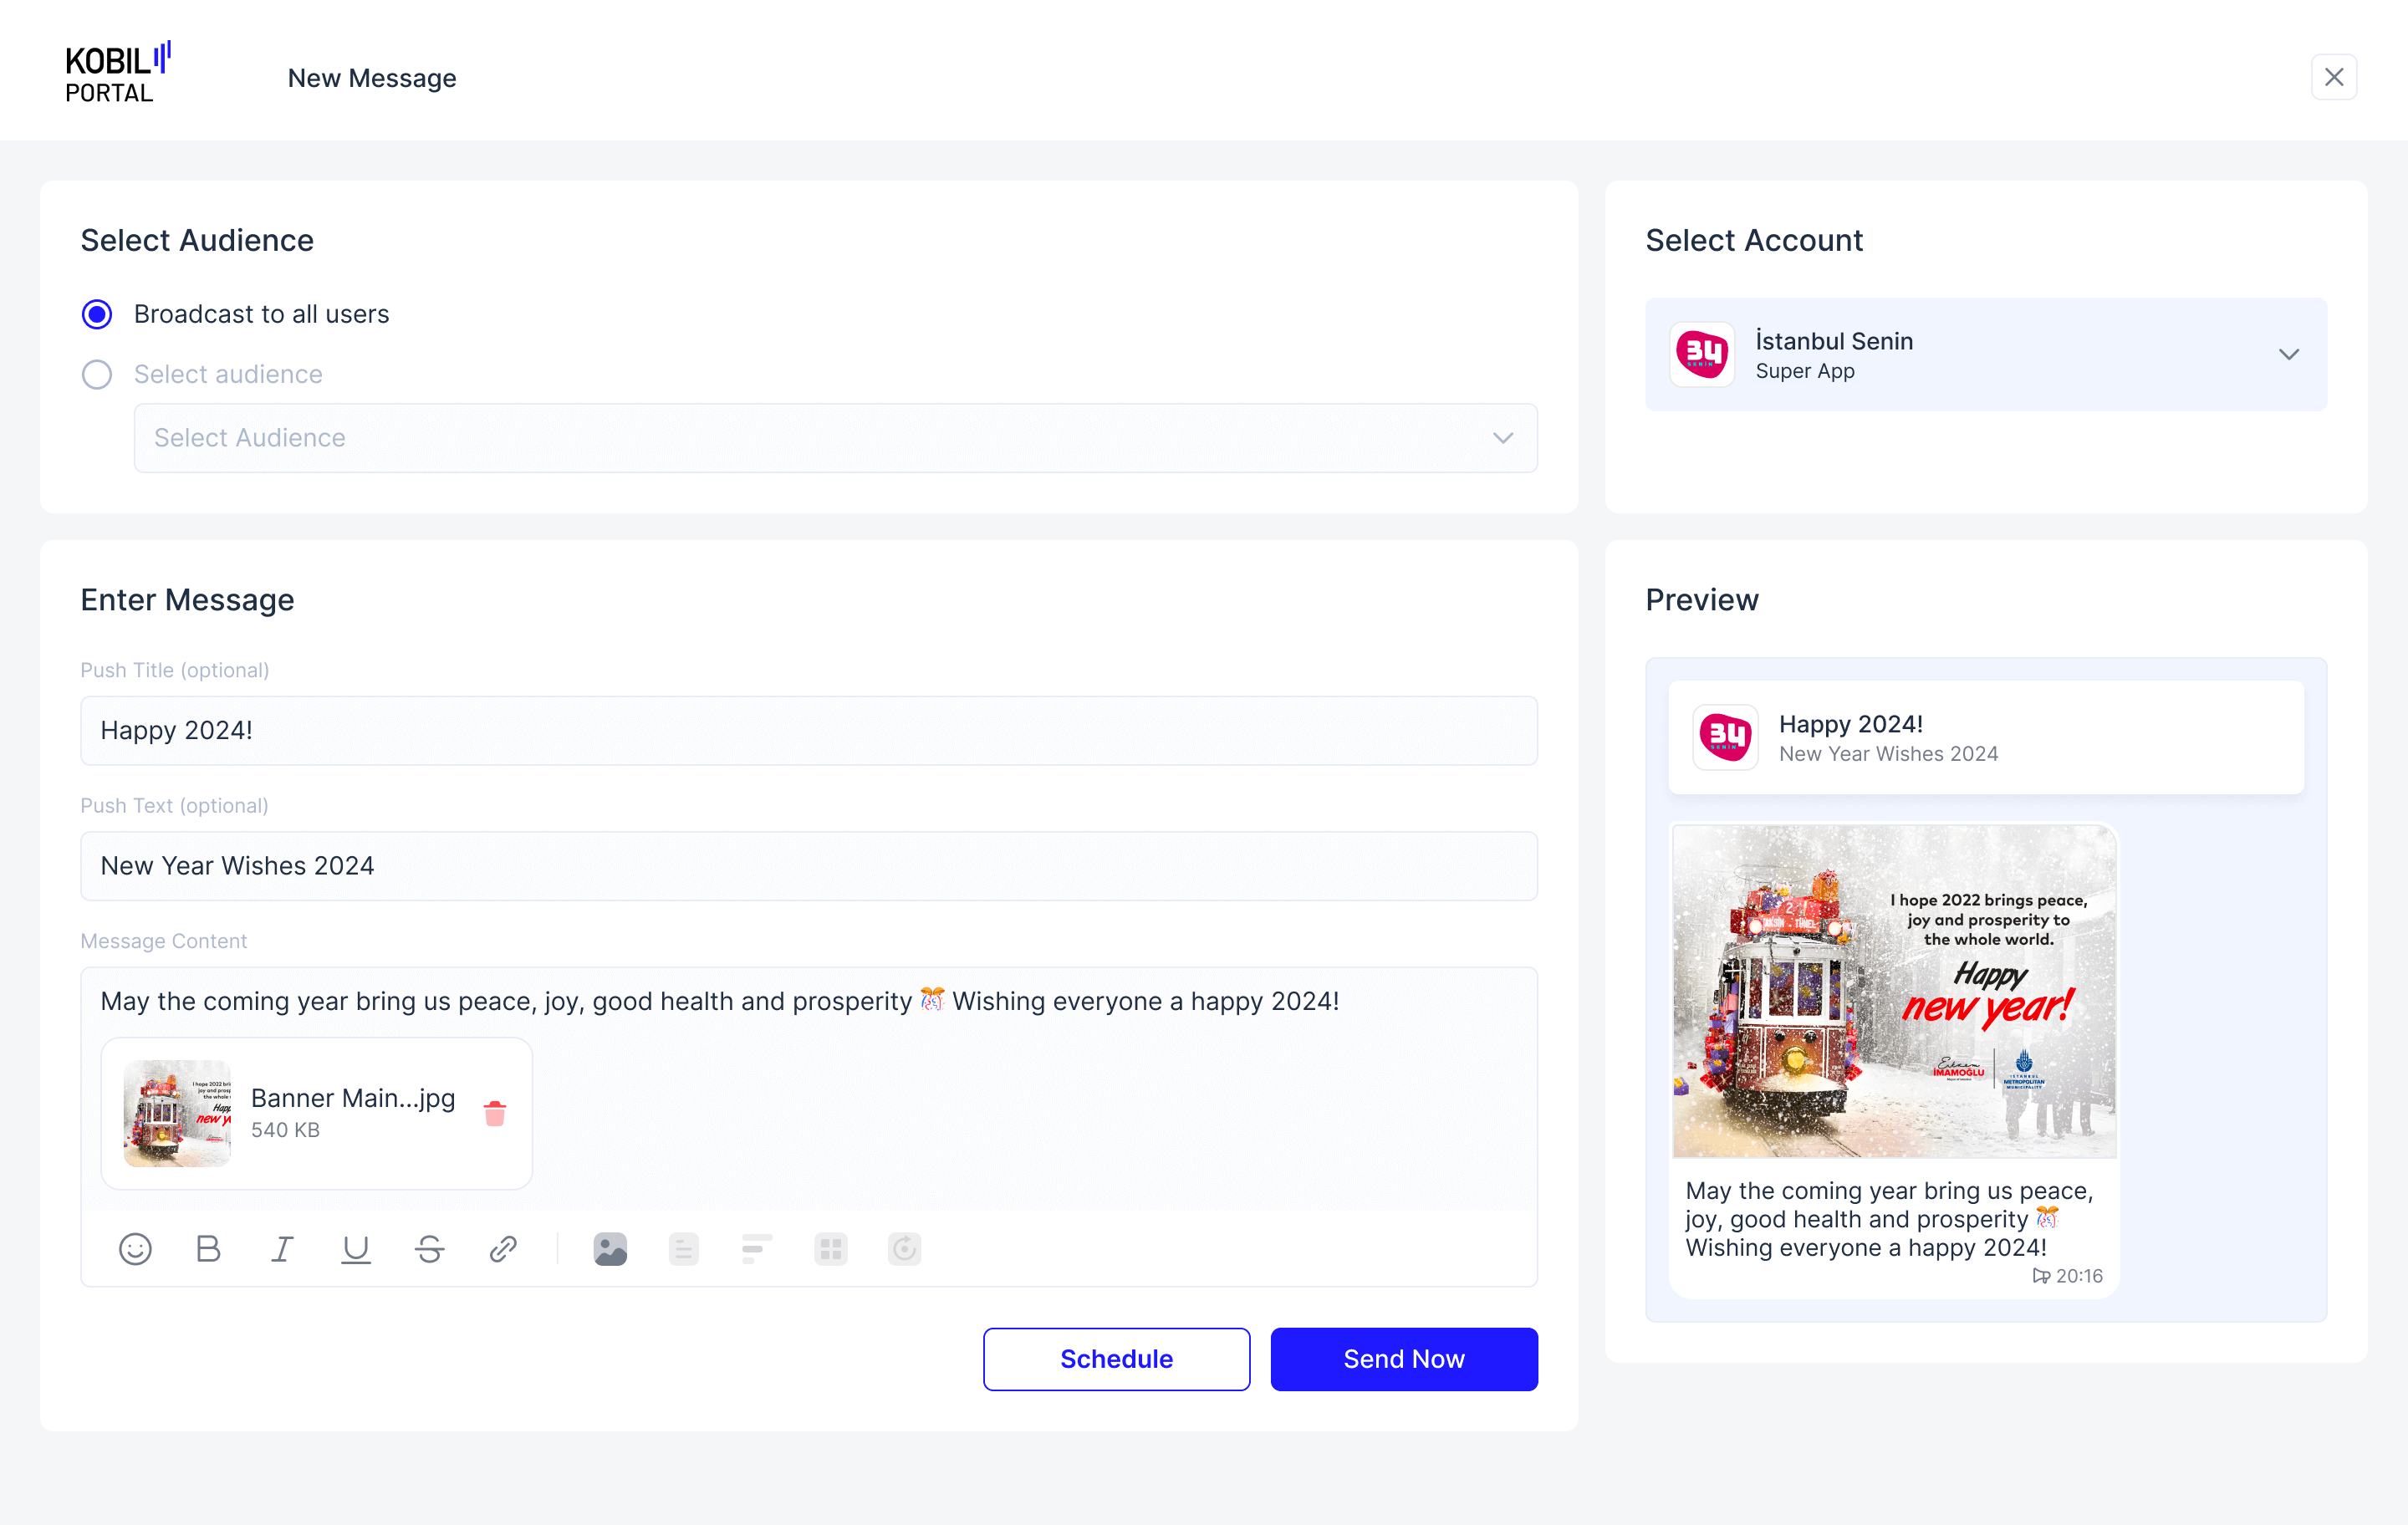
2. Select Audience.
- Broadcast to all users ➞ All “App Users” will receive this Message.
- Select audience ➞ Only selected “Audience” will receive the Message (multiple Audiences cannot be selected).
info
Learn about creating a new Audience from here
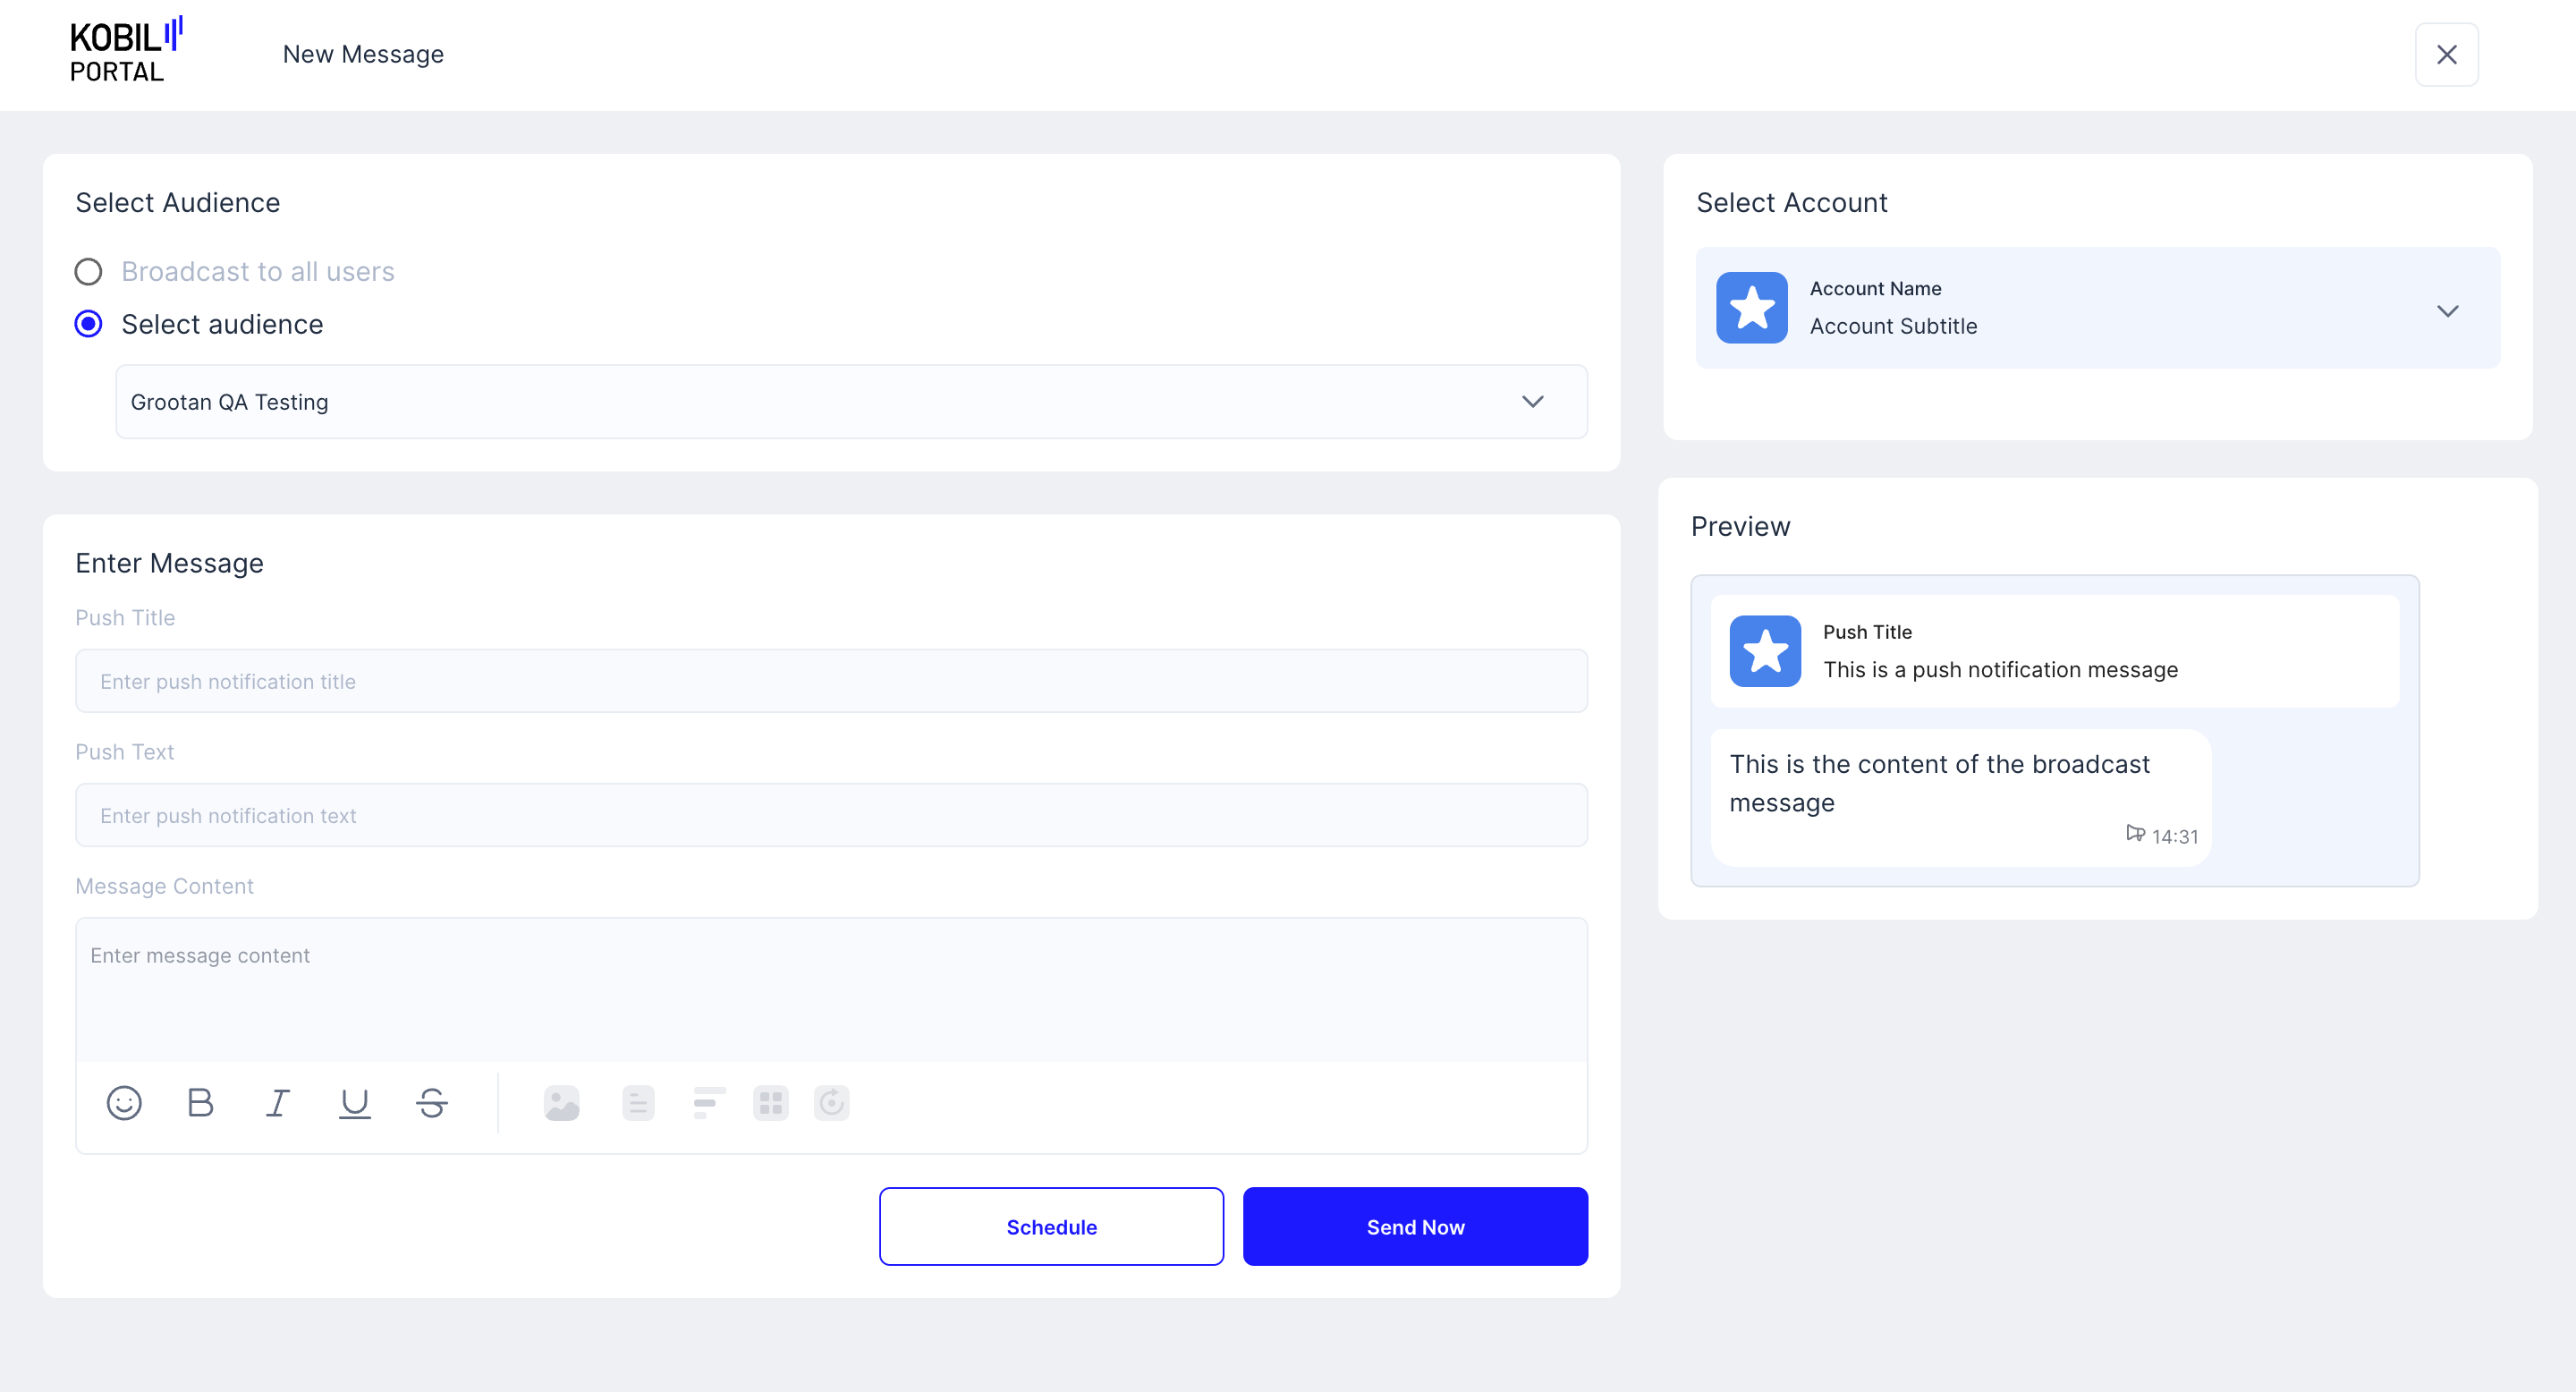
3. Enter Message Details.
-
Push Title ➞ This will appear as the Title Text on the message push notification on the user's device.
-
Push Text ➞ This will appear as the text under the Push Title on the message push notification on the user's device.
-
Message Content ➞ The Actual message content that the user will see in their chat inside the SuperApp. Basic Formatting is also possible:
- Text
- Images
- Document
- Poll
- MiniApp Redirect Link
- Init parameter (Botstar Bots)
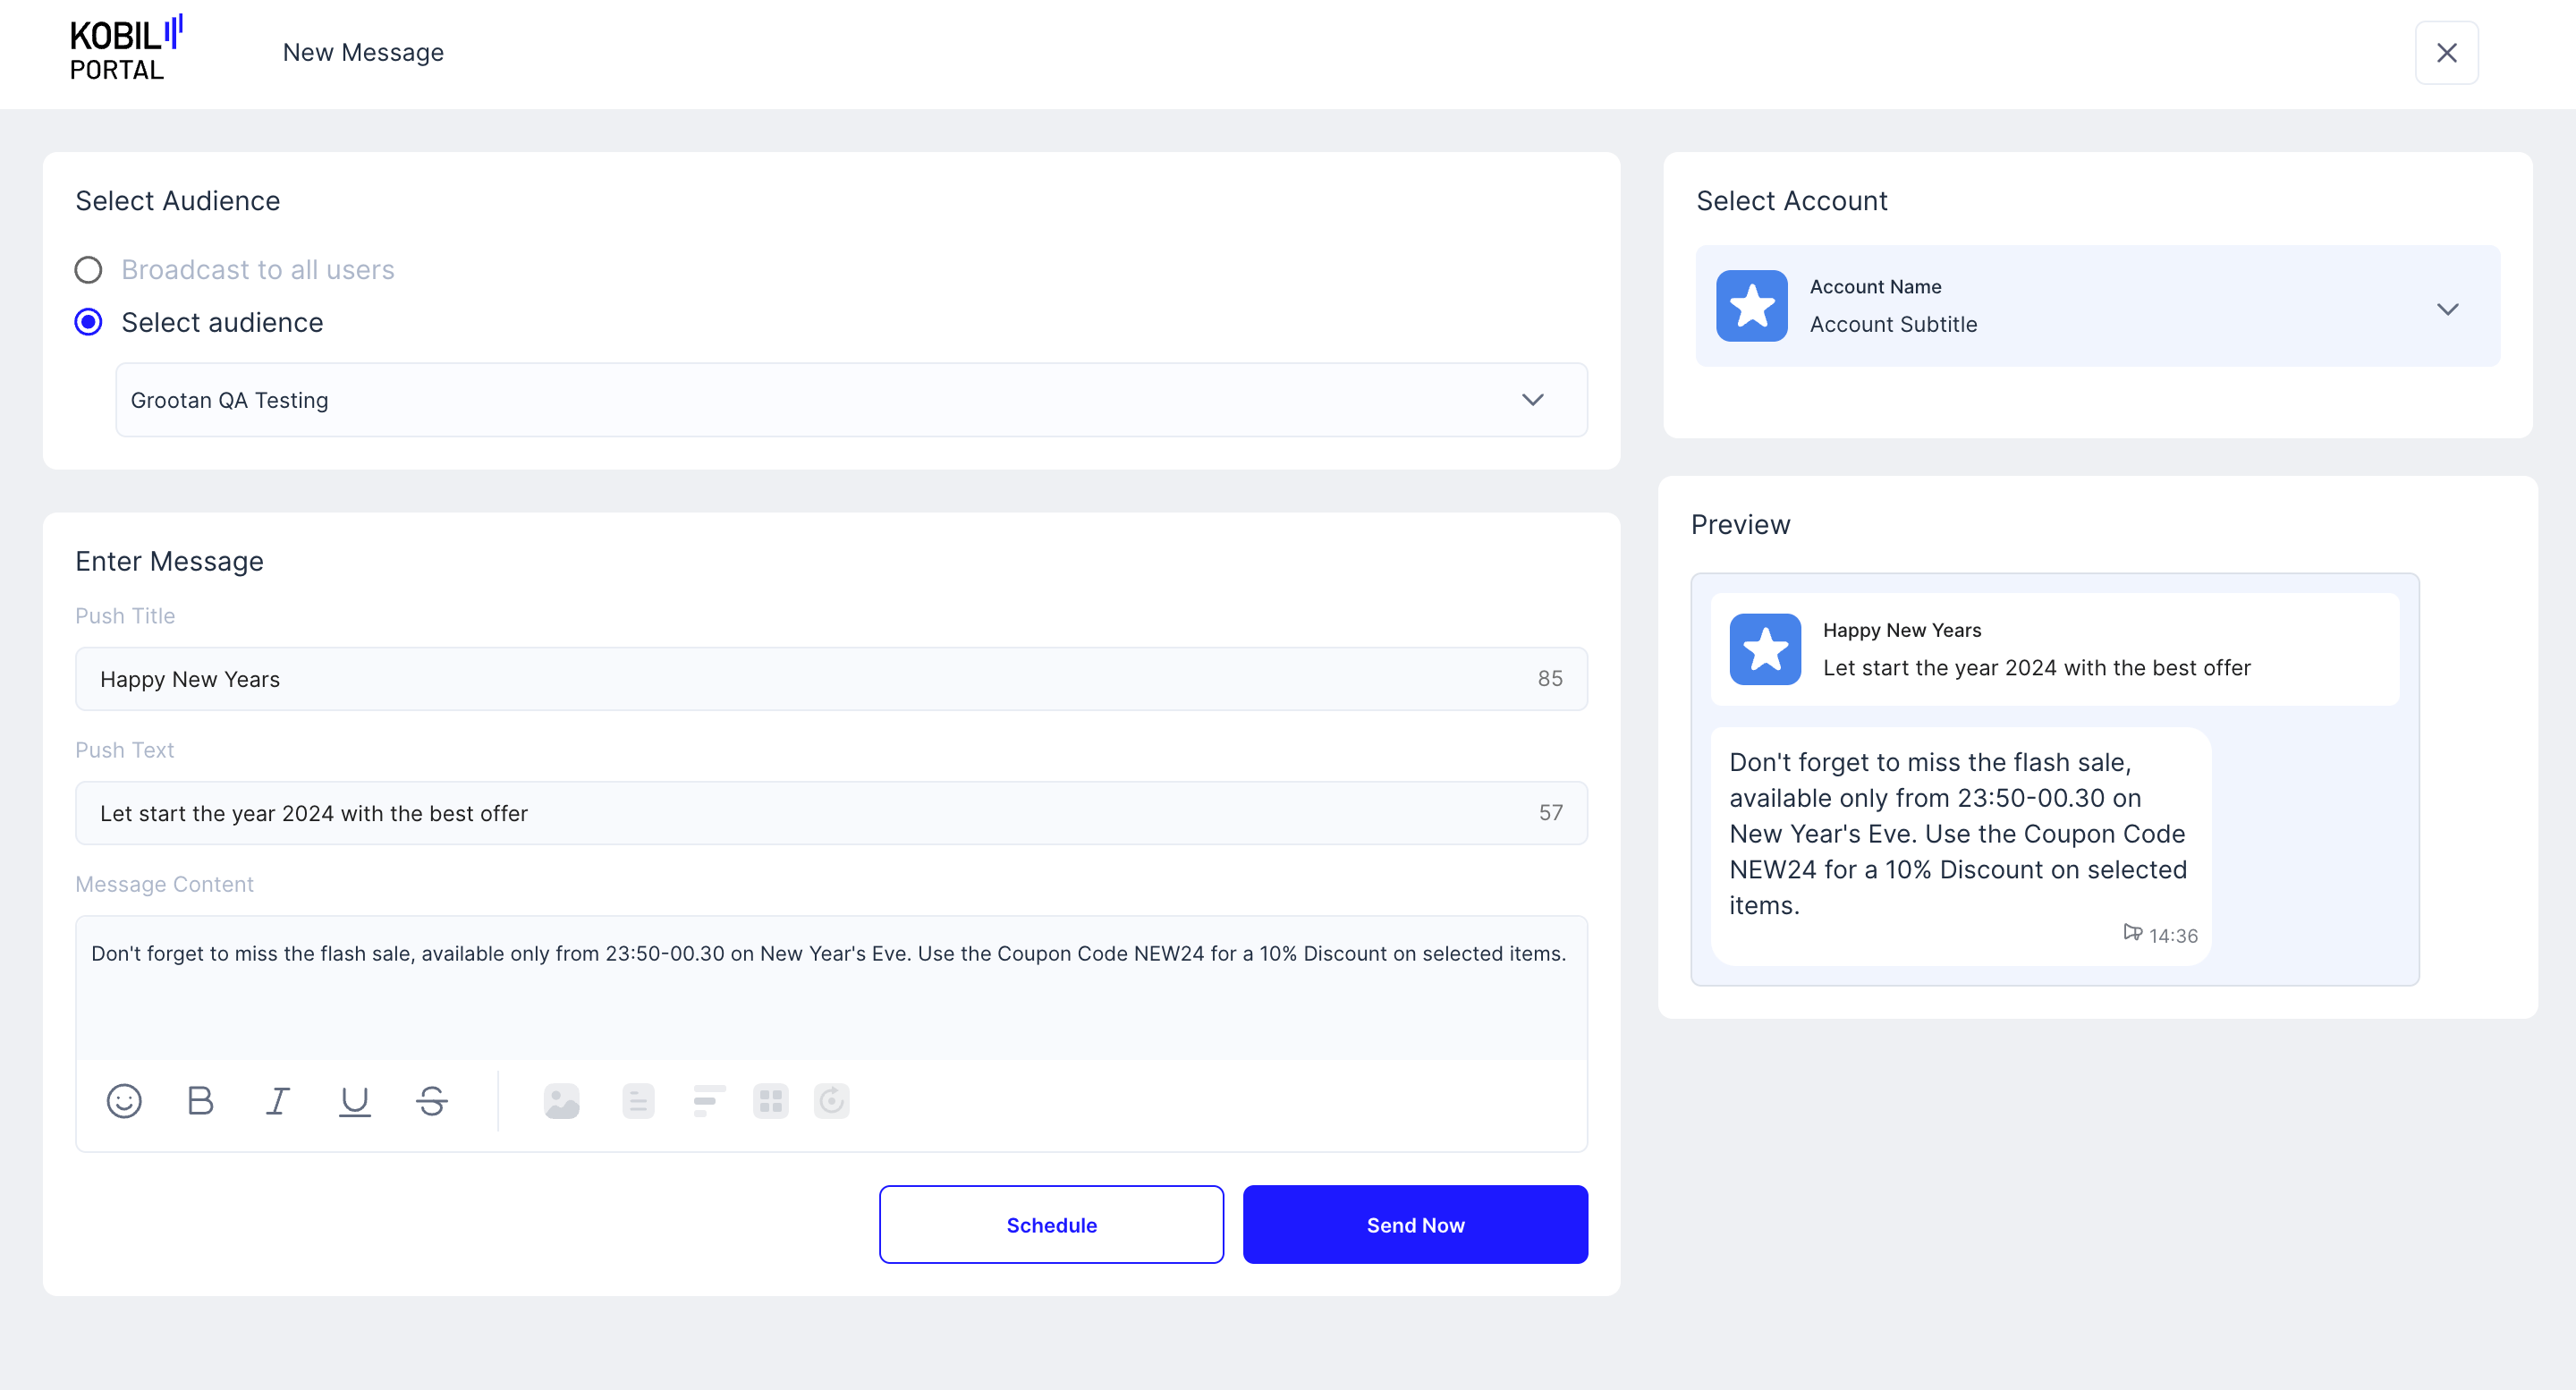
4. Select Account
Choose which Service will the message be sent from.
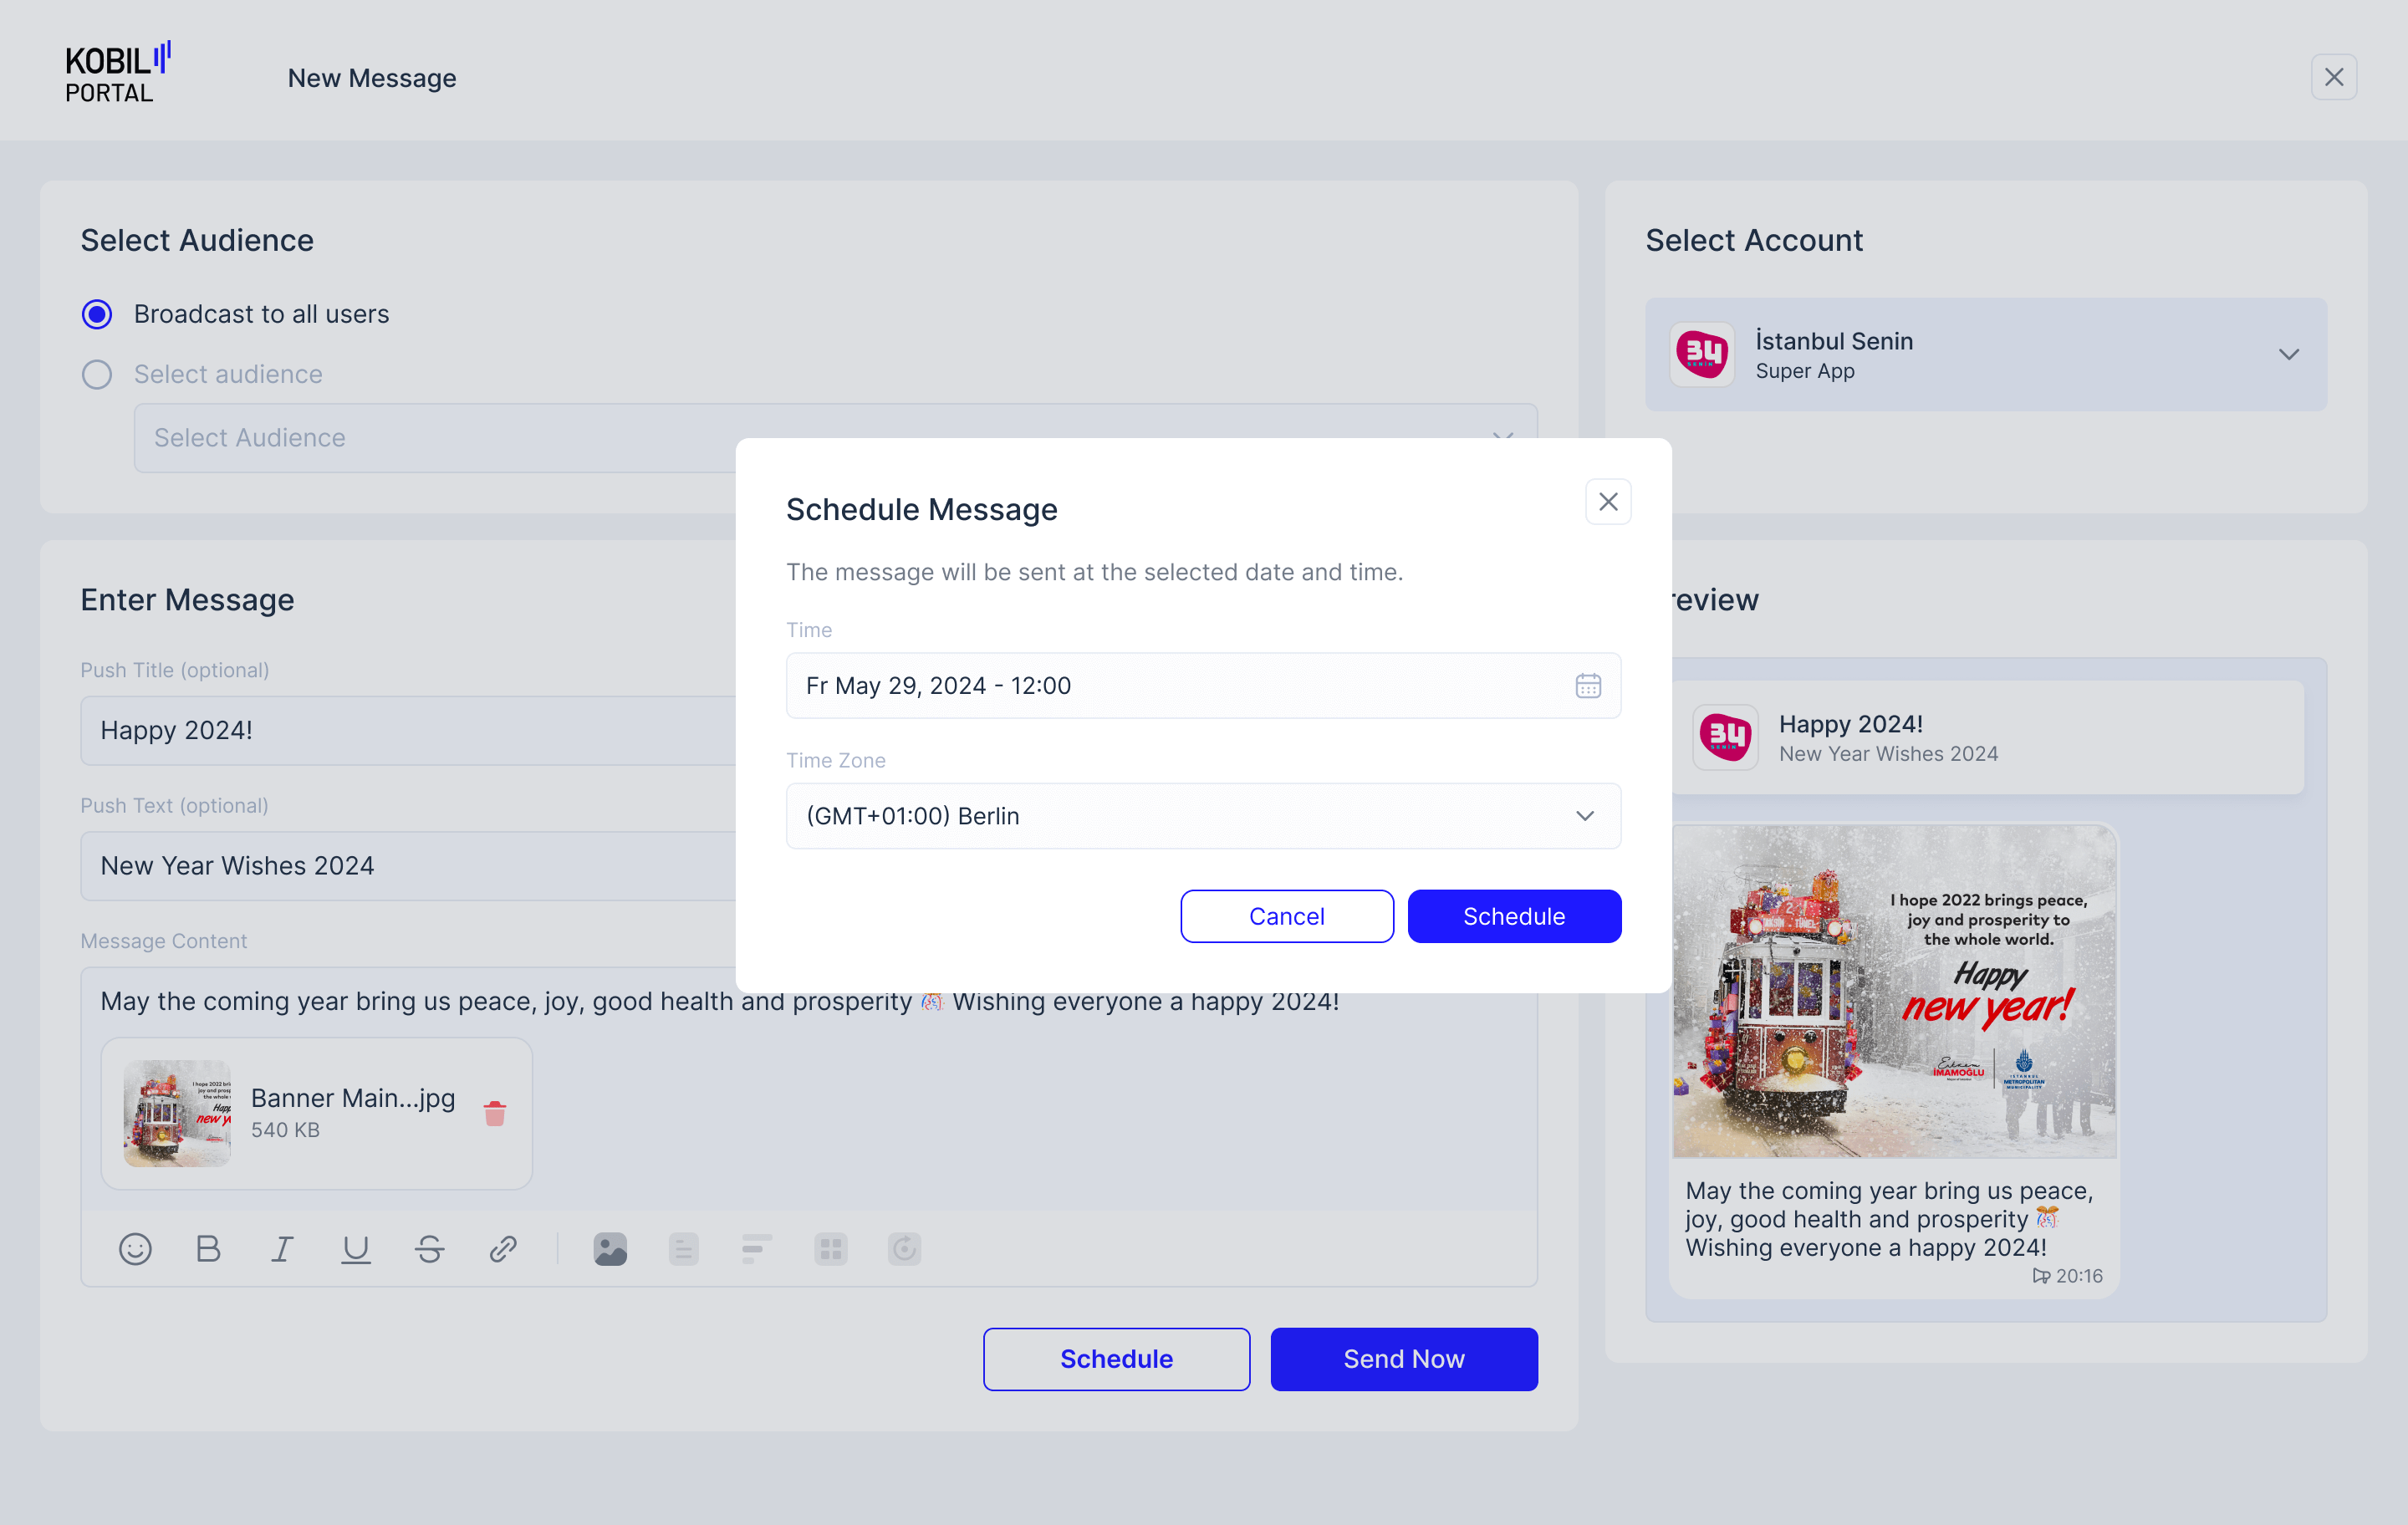
5. Click “Schedule”
Select Date and Time, click “Schedule” again to confirm the scheduled message.
info
“Workspace Member” would see a “Send Request” button in place of the “Schedule” button. Their Schedule Request has to be approved by a “Workspace Owner”, before the Message Scheduled “Broadcast” is confirmed.