Send a Message
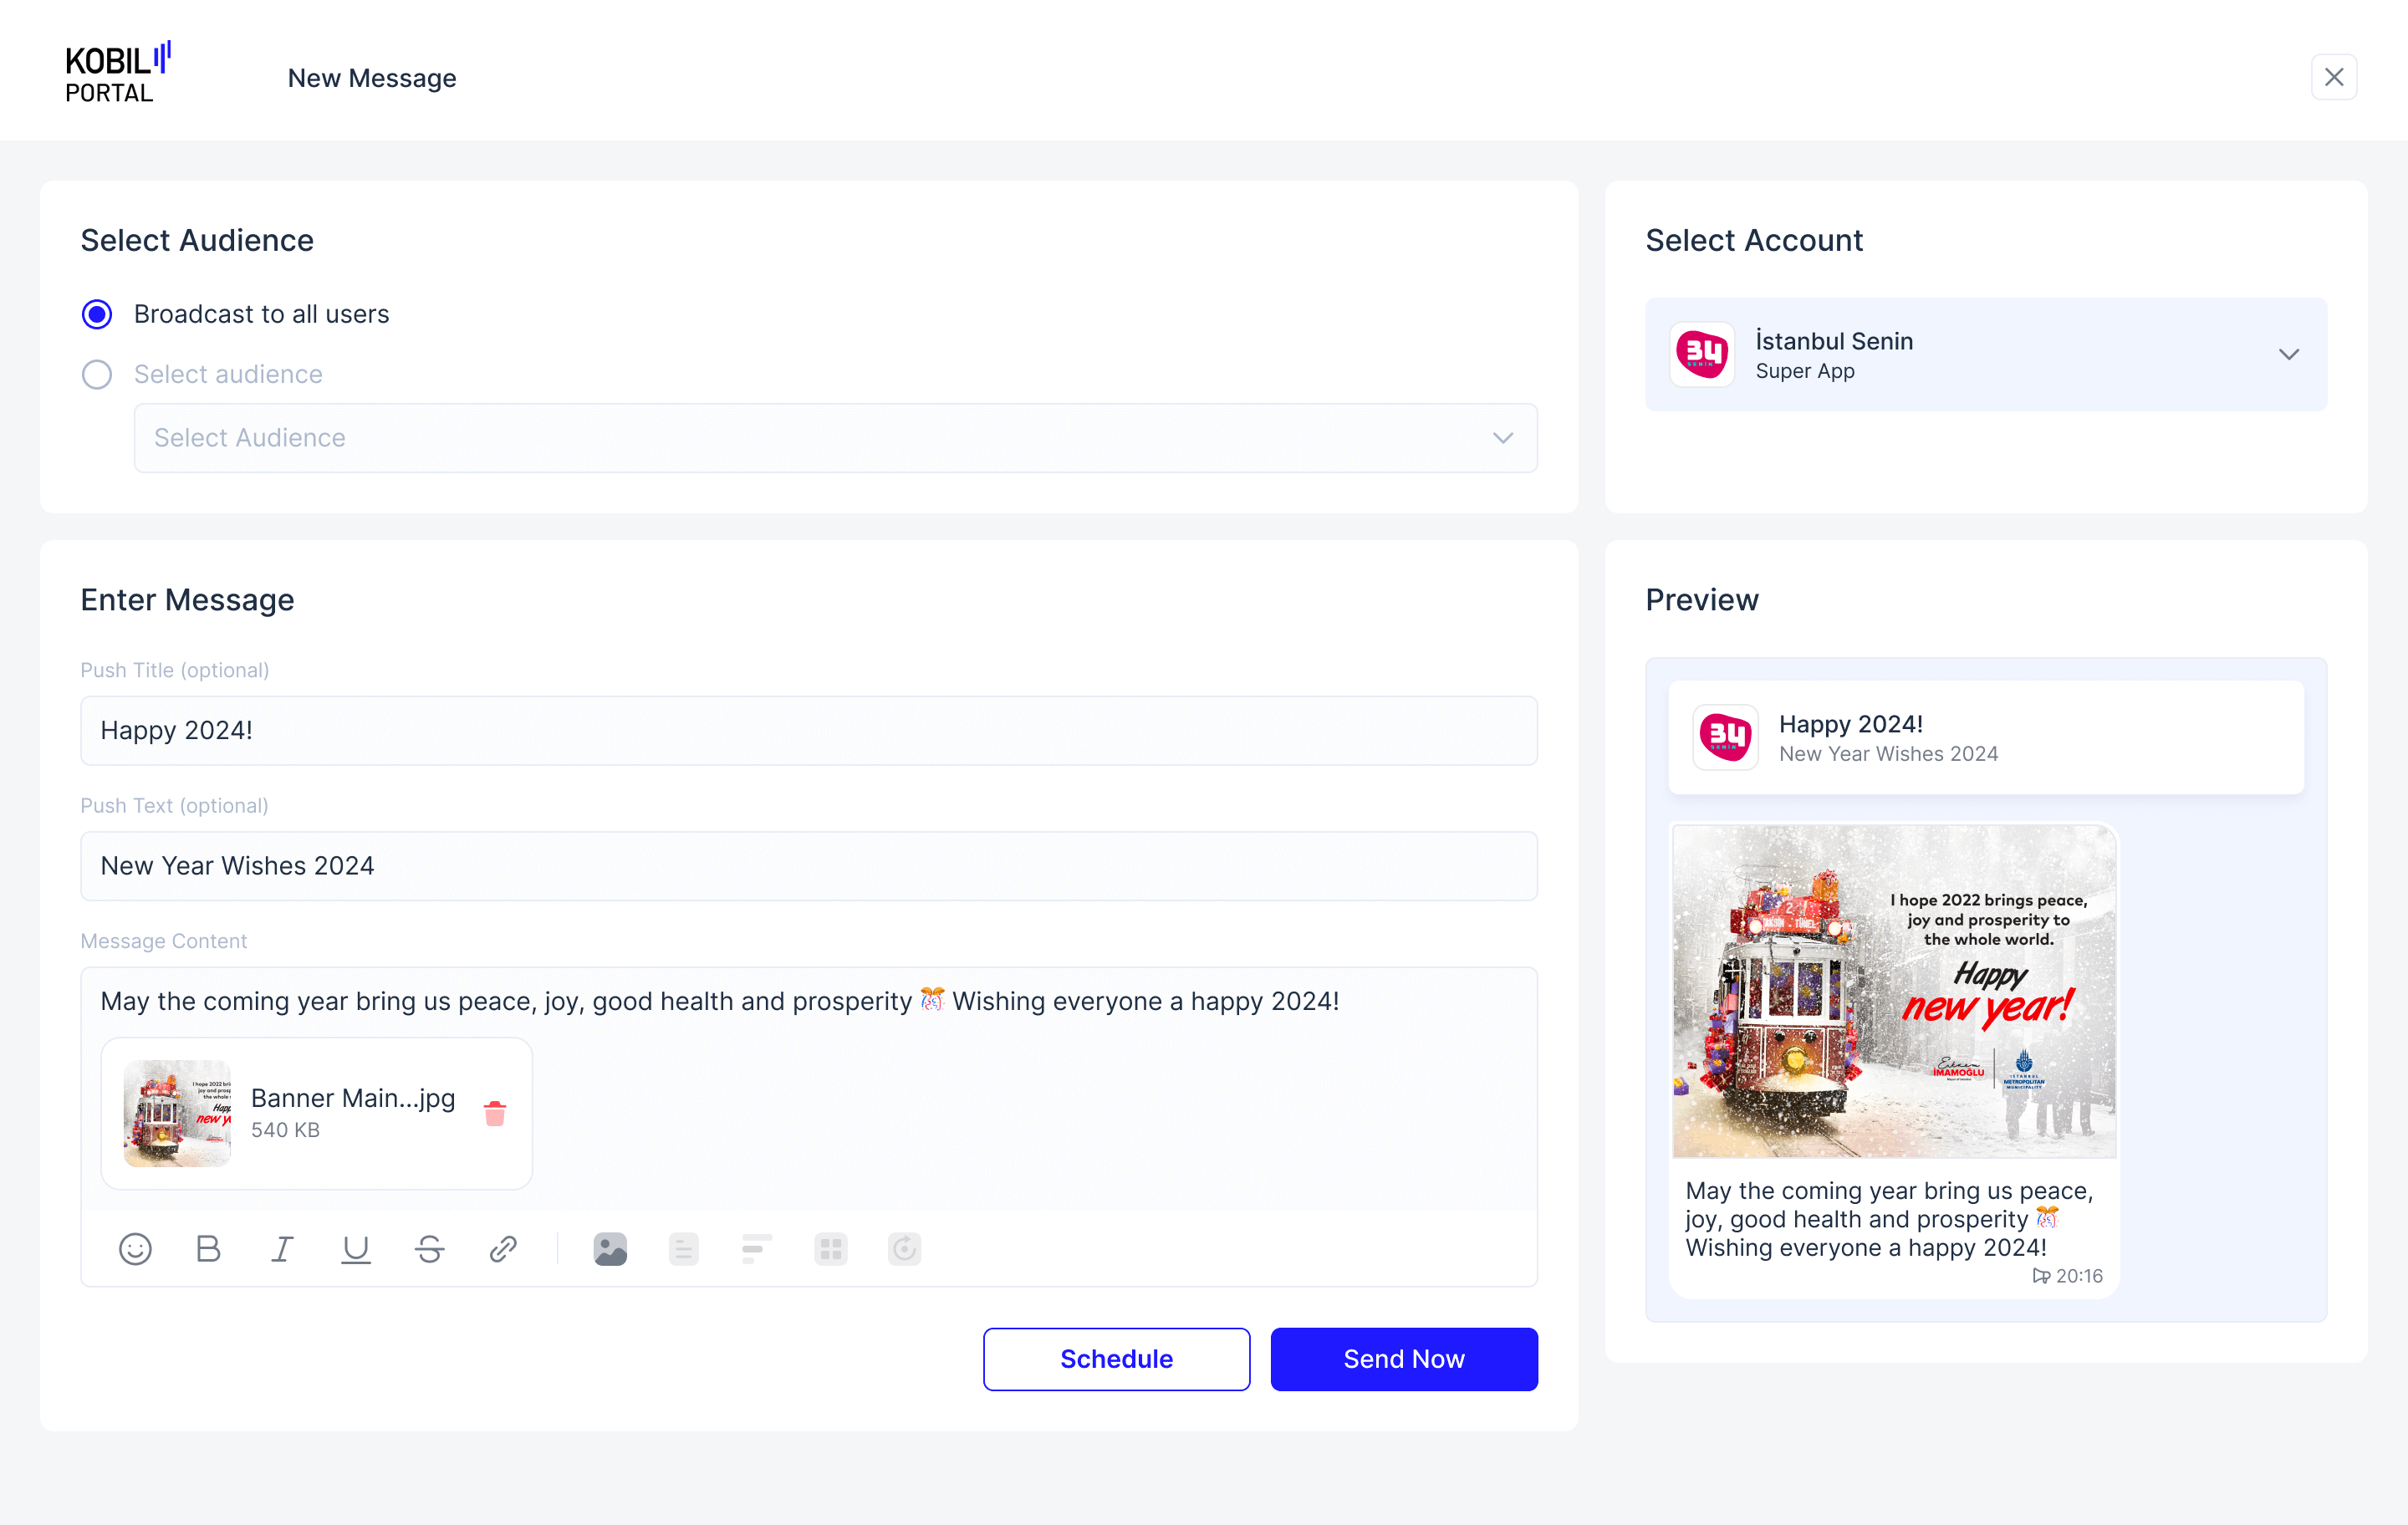
1. Click on “New Message” Button.
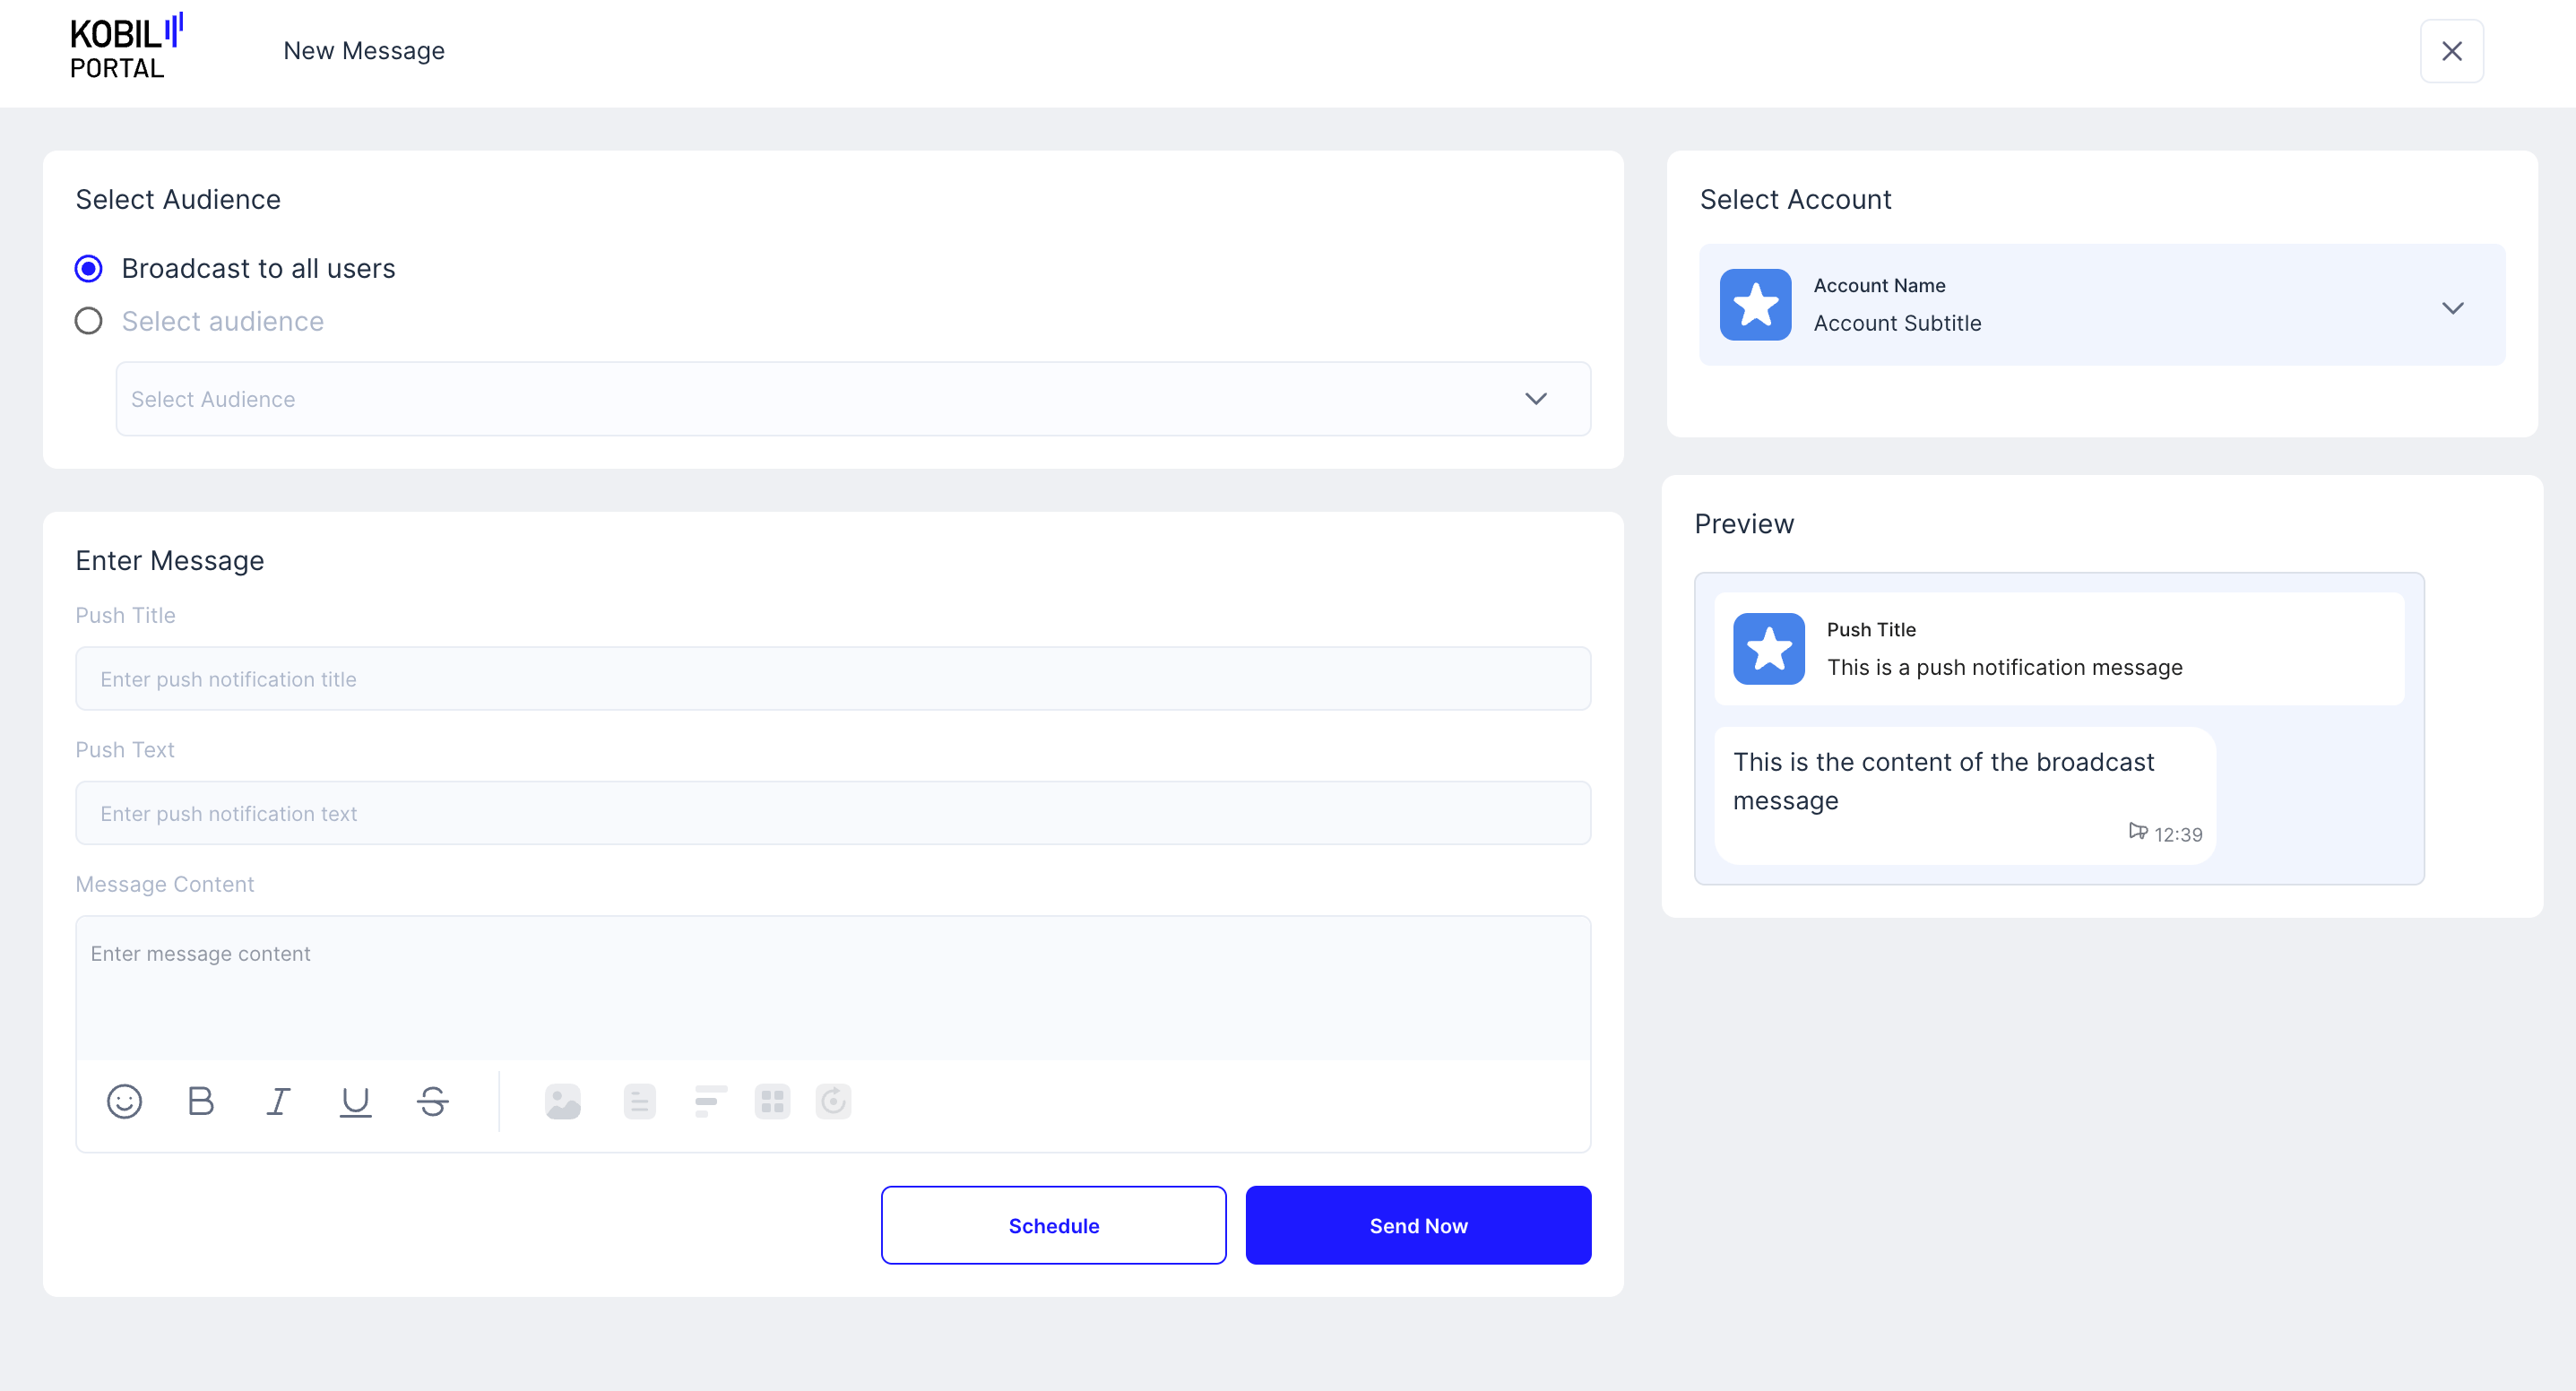
2. Select Audience.
- Broadcast to all users ➞ All “App Users” will receive this Message.
- Select audience ➞ Only selected “Audience” will receive the Message (multiple Audiences cannot be selected).
info
Learn about creating a new Audience from here

3. Enter Message Details.
-
Push Title ➞ This will appear as the Title Text on the message push notification on the user's device.
-
Push Text ➞ This will appear as the text under the Push Title on the message push notification on the user's device.
-
Message Content ➞ The Actual message content that the user will see in their chat inside the SuperApp. Basic Formatting is also possible:
- Text
- Images
- Document
- Poll
- MiniApp Redirect Link
- Init parameter (Botstar Bots)
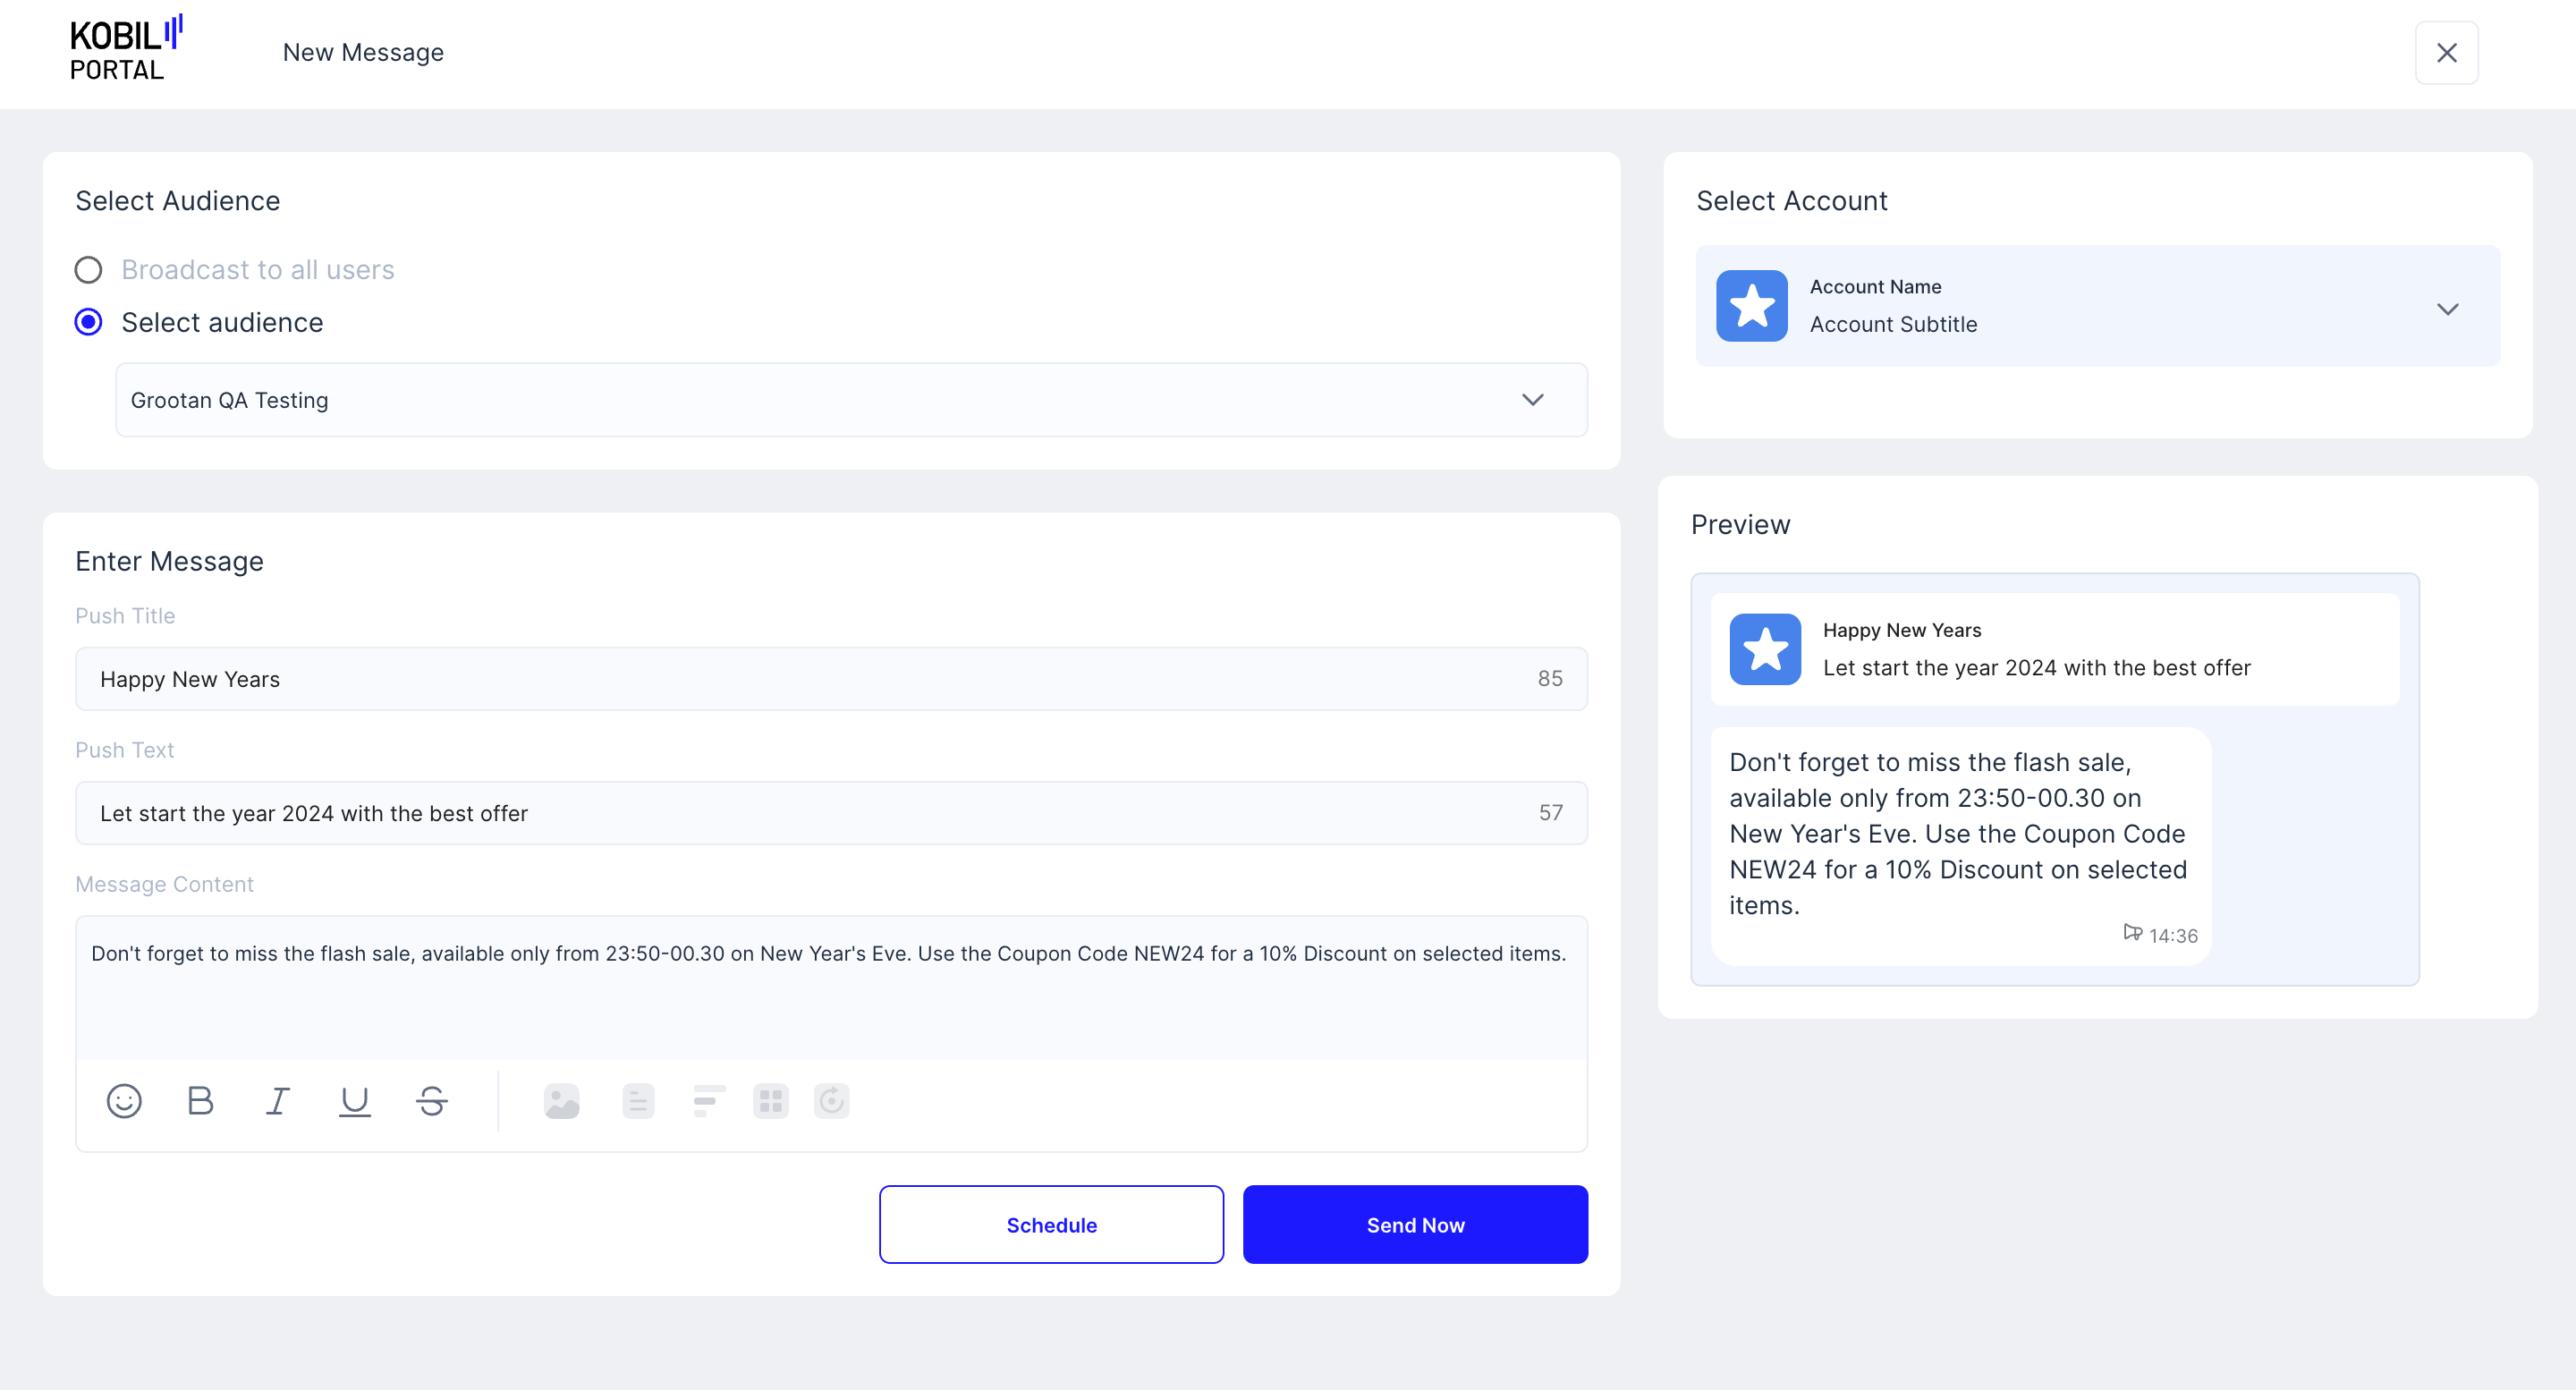
4. Select Account
Choose which Service will the message be sent from.
5. Click “Send” and approve the confirmation pop-up
info
“Workspace Member” would see a “Send Request” button in place of the “Schedule” button. Their Schedule Request has to be approved by a “Workspace Owner”, before the Message Scheduled “Broadcast” is confirmed.
